|
|
 |
|
|
Computer Support For Individuals And Small Business |
|
|
|
|
12/10/10 |
|
|
Removing Windows Live Essentials 2011 |
|
|
Under certain circumstances it may be desirable to remove Windows Live Essentials 2011 or some of its components (it is not required to run Windows). This can be accomplished through the Control Panel - Programs and Features. If at sometime during the process a User Account Control window pops up you will need to give permission to allow the process to continue.
|
|
|
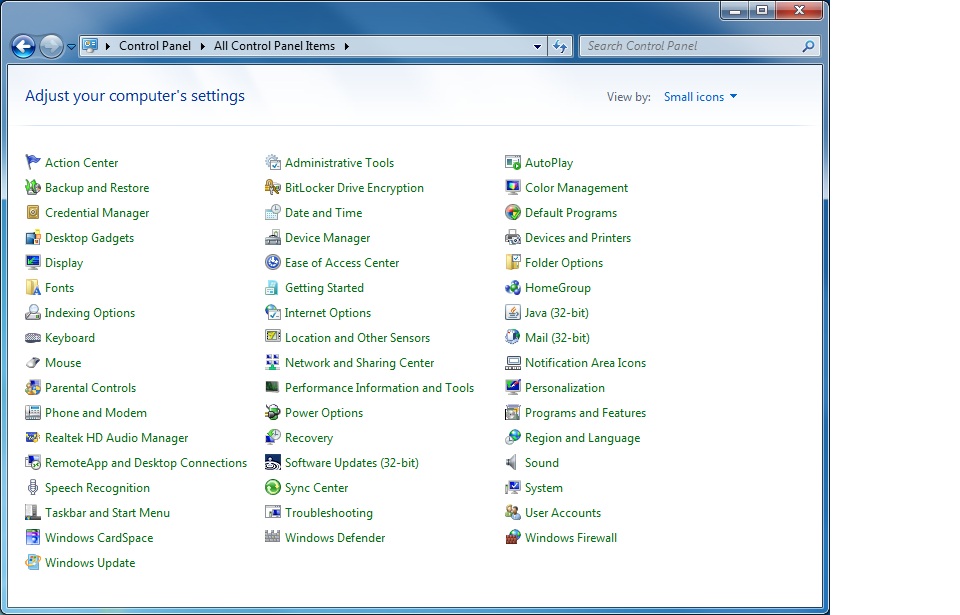
Open the Control Panel in Icon view as illustrated below.
|
|
|
|
|
|
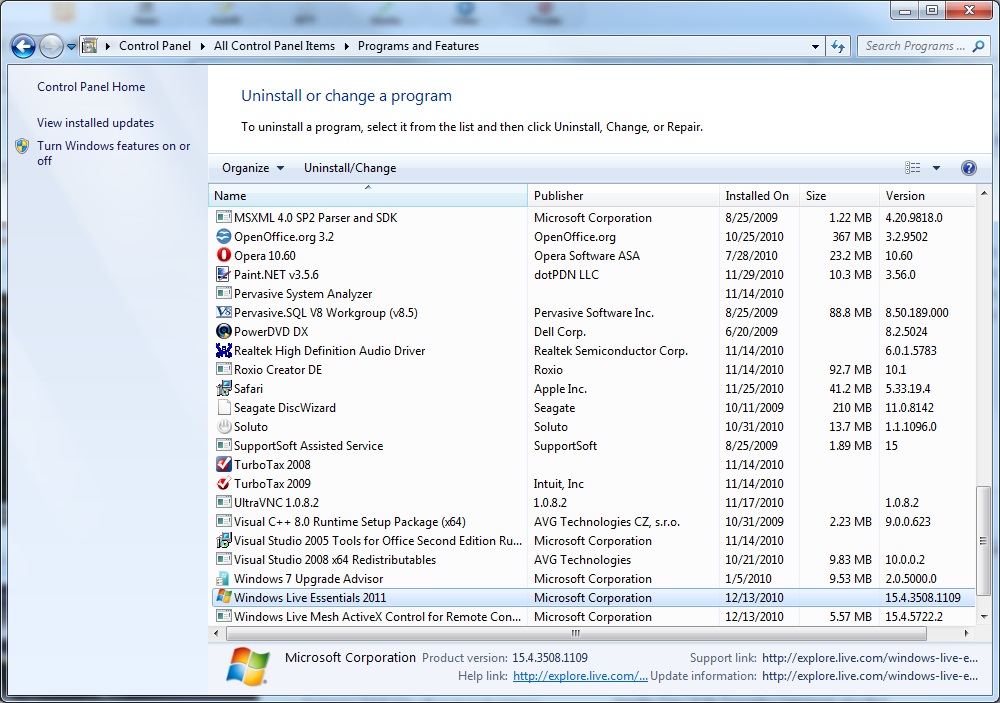
Double-click on the "Programs and Features" icon. The Uninstall or change a program window will open and populate itself with a list of programs. This may take a little time. Once it's done, find "Windows Live Essentials 2011" and select it by clicking on it once.
|
|
|
|
|
|
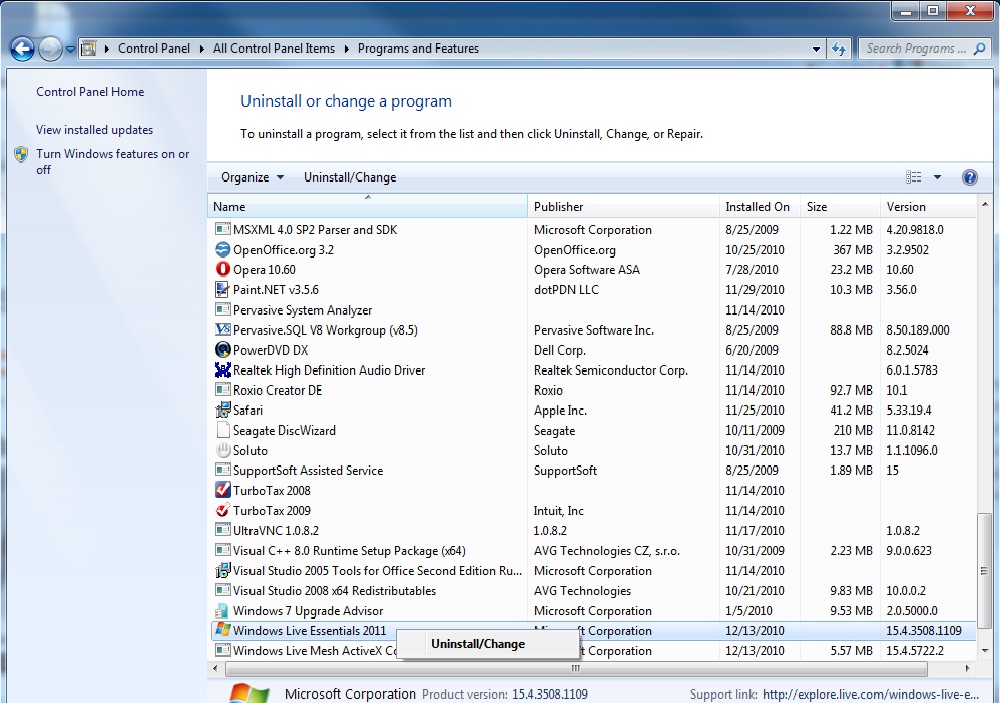
Click on the "Uninstall/Change" button near above the list of programs or right-click on "Windows Live Essentials 2011" and select "Uninstall/Change."
|
|
|
|
|
|
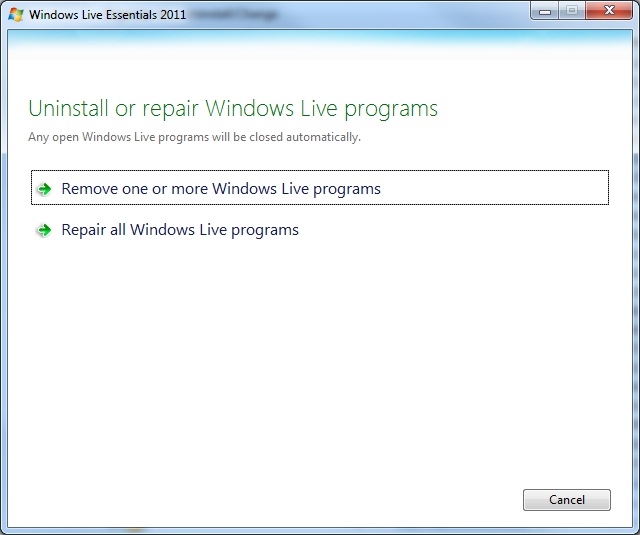
A window will appear with a choice of removing or repairing. Select the remove option.
|
|
|
|
|
|
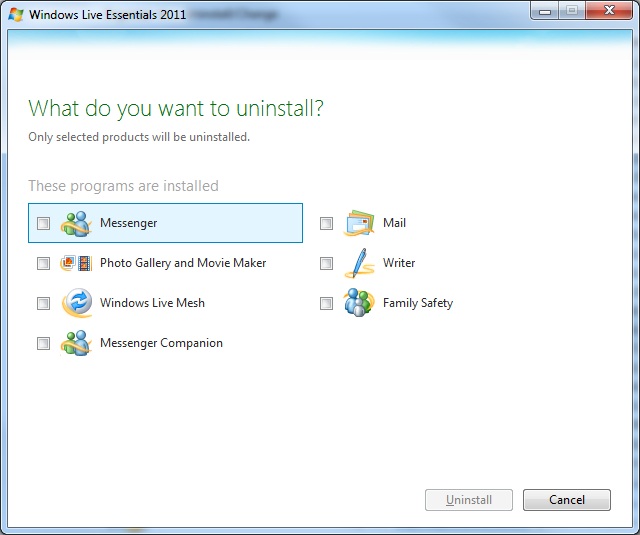
A window will appear allowing you to select which components to remove. Select them all to remove Windows Live Essentials 2011 in its entirety.
|
|
|
|
|
|
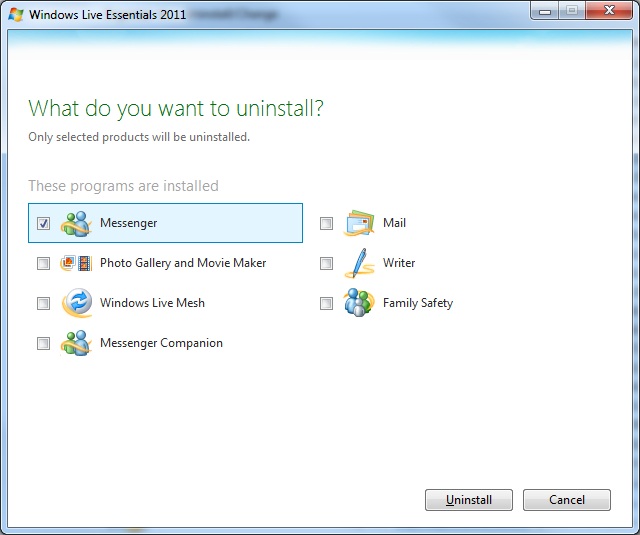
In this example, we will select only "Messenger."
|
|
|
|
|
|
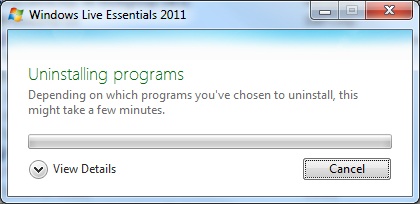
Click the "Uninstall" button. A window with a progress bar will appear.
|
|
|
|
|
|
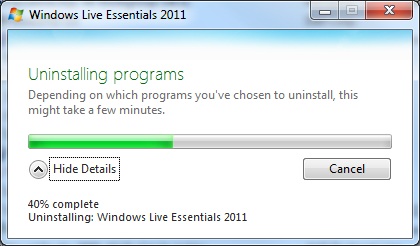
To get a percentage completion estimate click the down-arrow.
|
|
|
|
|
|
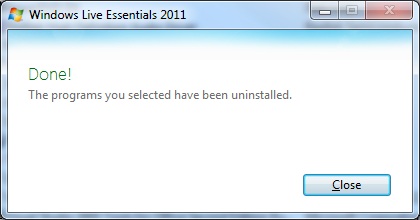
When the process is complete a final window will appear.
|
|
|
|
|
|
The process is complete. It may be necessary to close and reopen programs (such as your browser) or to reboot to finalize the process.
|
|