|
|
 |
|
|
Computer Support For Individuals And Small Business |
|
|
|
|
3/5/13 |
|
|
Windows 8 Start Screen Basics Using A Mouse |
|
|
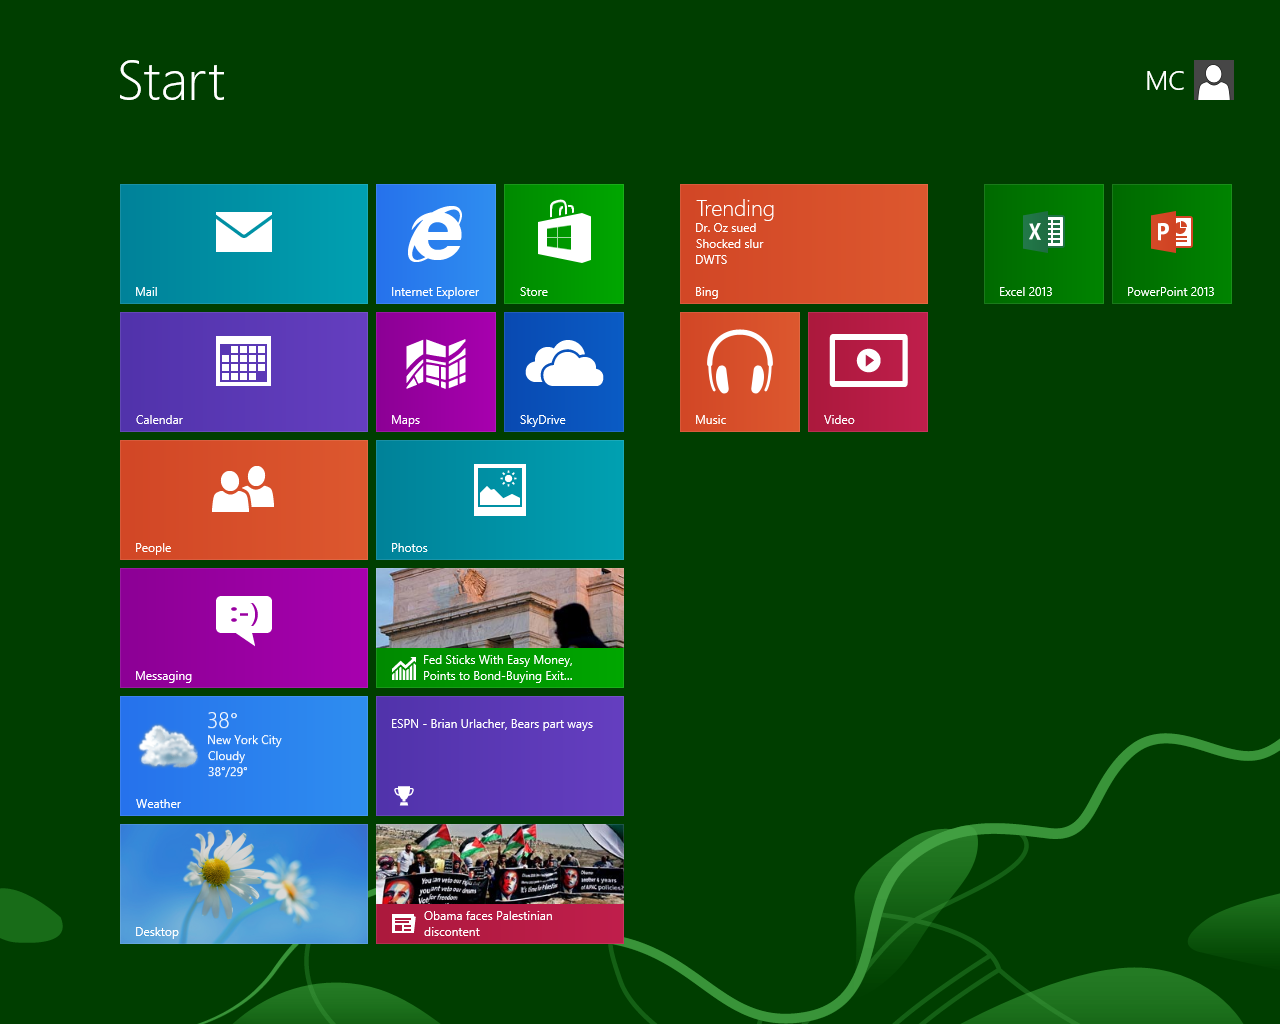
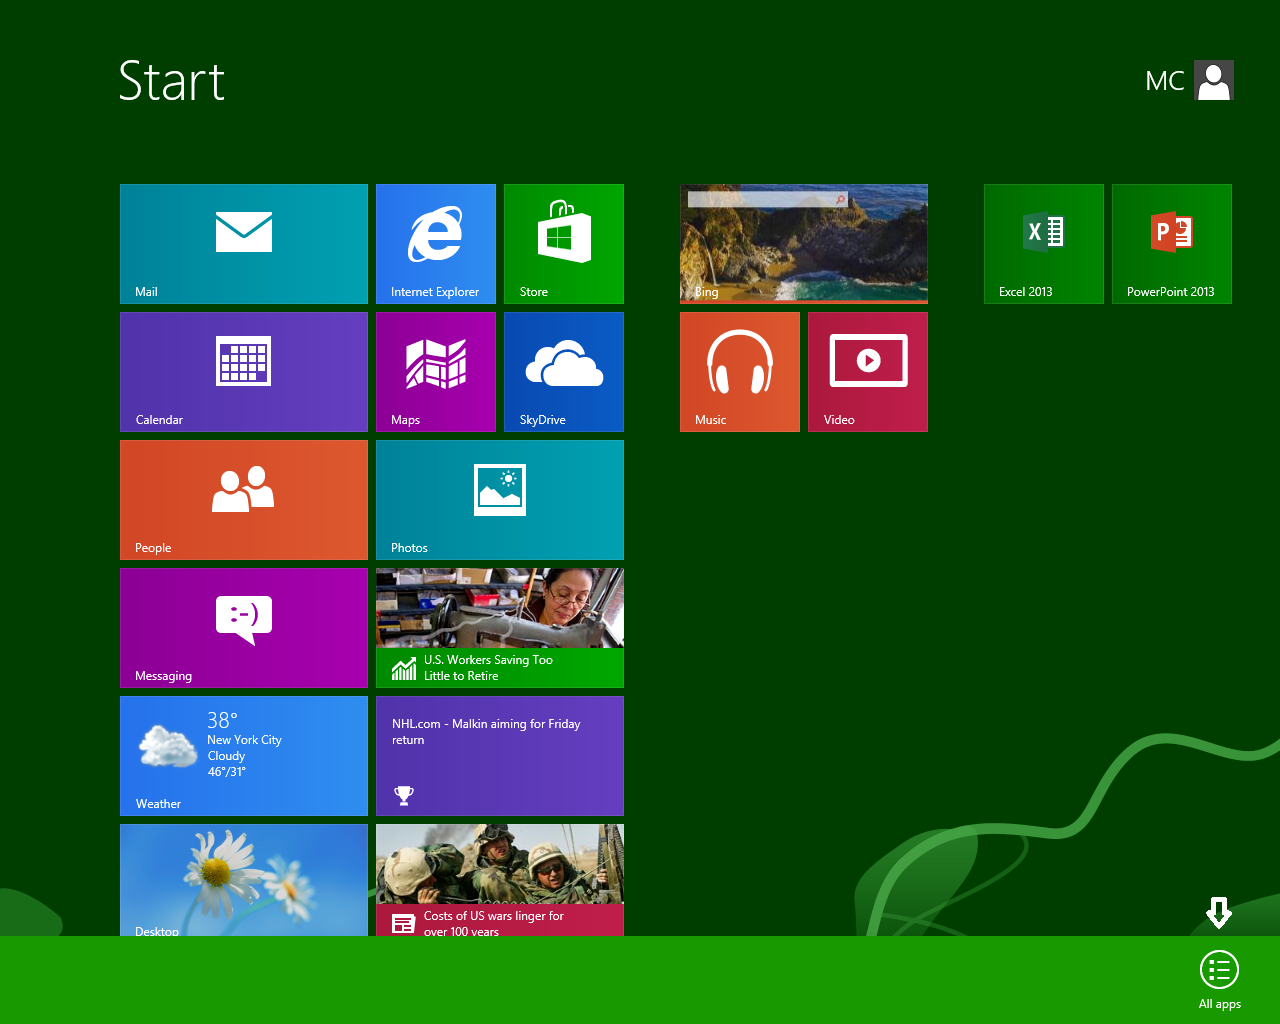
Once logged into Windows 8, one of the first things the user encounters is the Start Screen as in the following example:
|
|
|
|
|
|
This new concept replaces the Start Menu from Windows 7. It is designed to be used on a touch screen as well as with a mouse. In this article we will emphasize negotiating the Start Screen with a mouse. |
|
|
The squares and rectangles are referred to as "tiles." Clicking a tile usually starts a full-blown multifunctional program such as Word, or, a more narrowly focused application or app similar to what might be found on a tablet or smartphone. There are also tiles to switch to the Desktop, or start other various Windows functions such as the Control Panel. In addition, tiles can be used as shortcuts to websites and folders. |
|
|
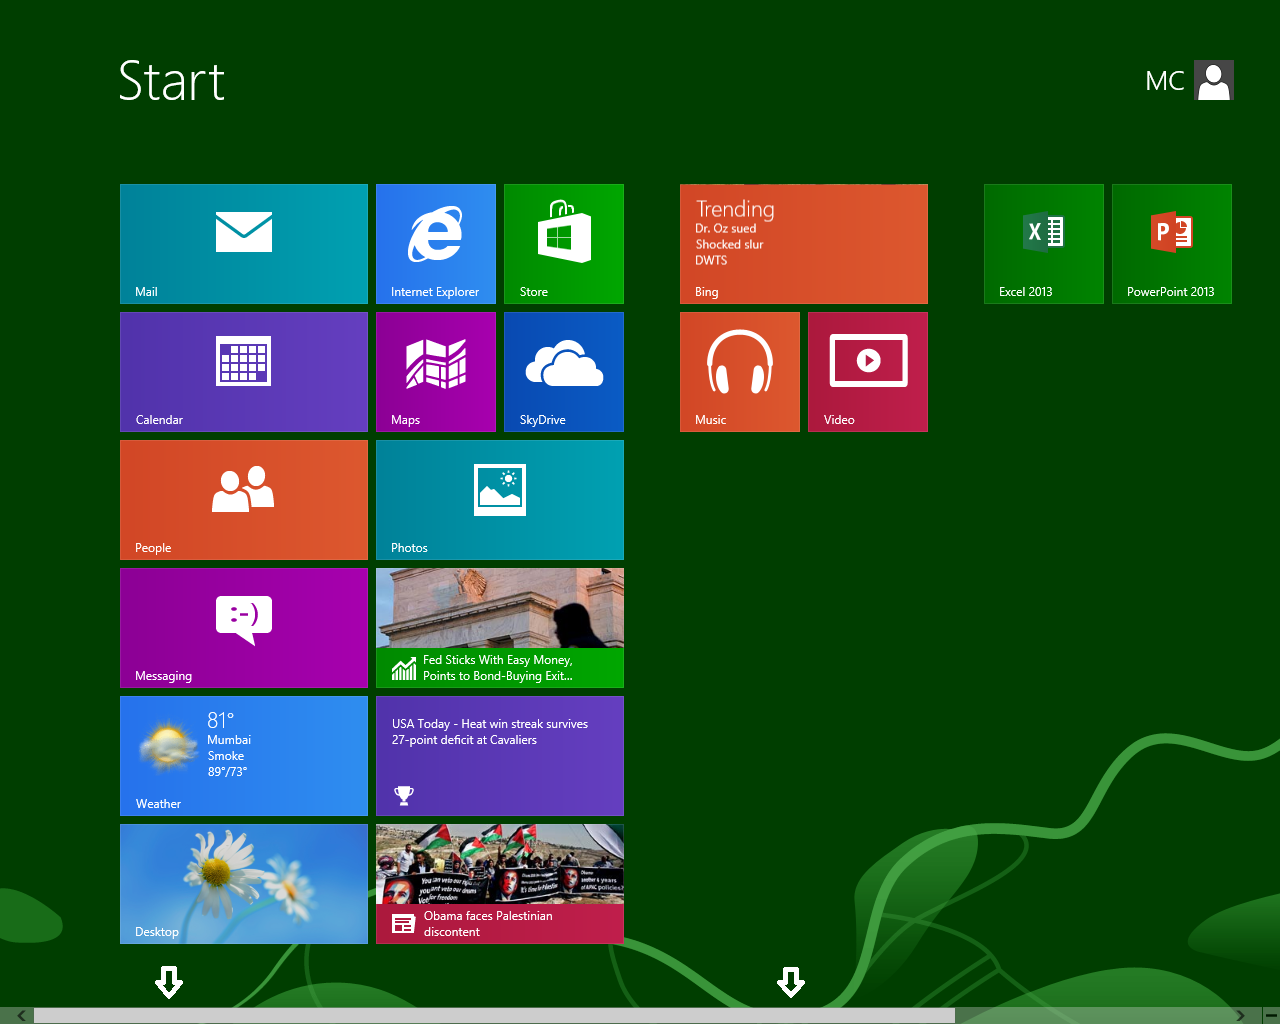
With the size of the tiles, and the number available, not all the tiles typically can be displayed. A scroll bar at the bottom of the screen allows the rest of the tiles to become visible. If there is no scroll bar, simply move the mouse and it appears. The scroll bar stays visible for only a few seconds. |
|
|
|
|
|
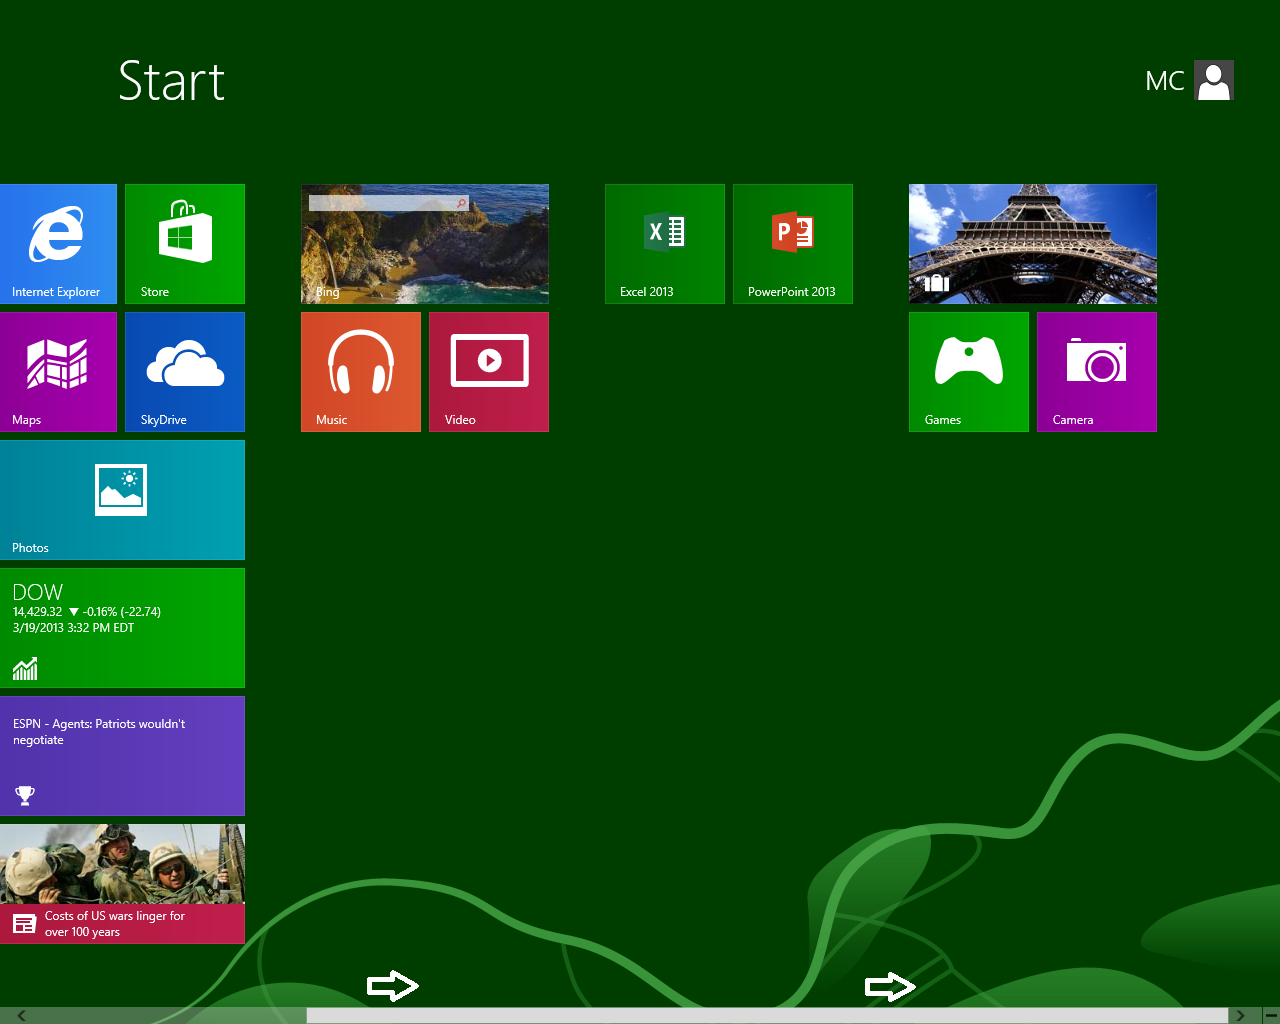
After scrolling to the right the rest of the tiles can be made visible. |
|
|
|
|
|
Finding A Specific Tile
|
|
|
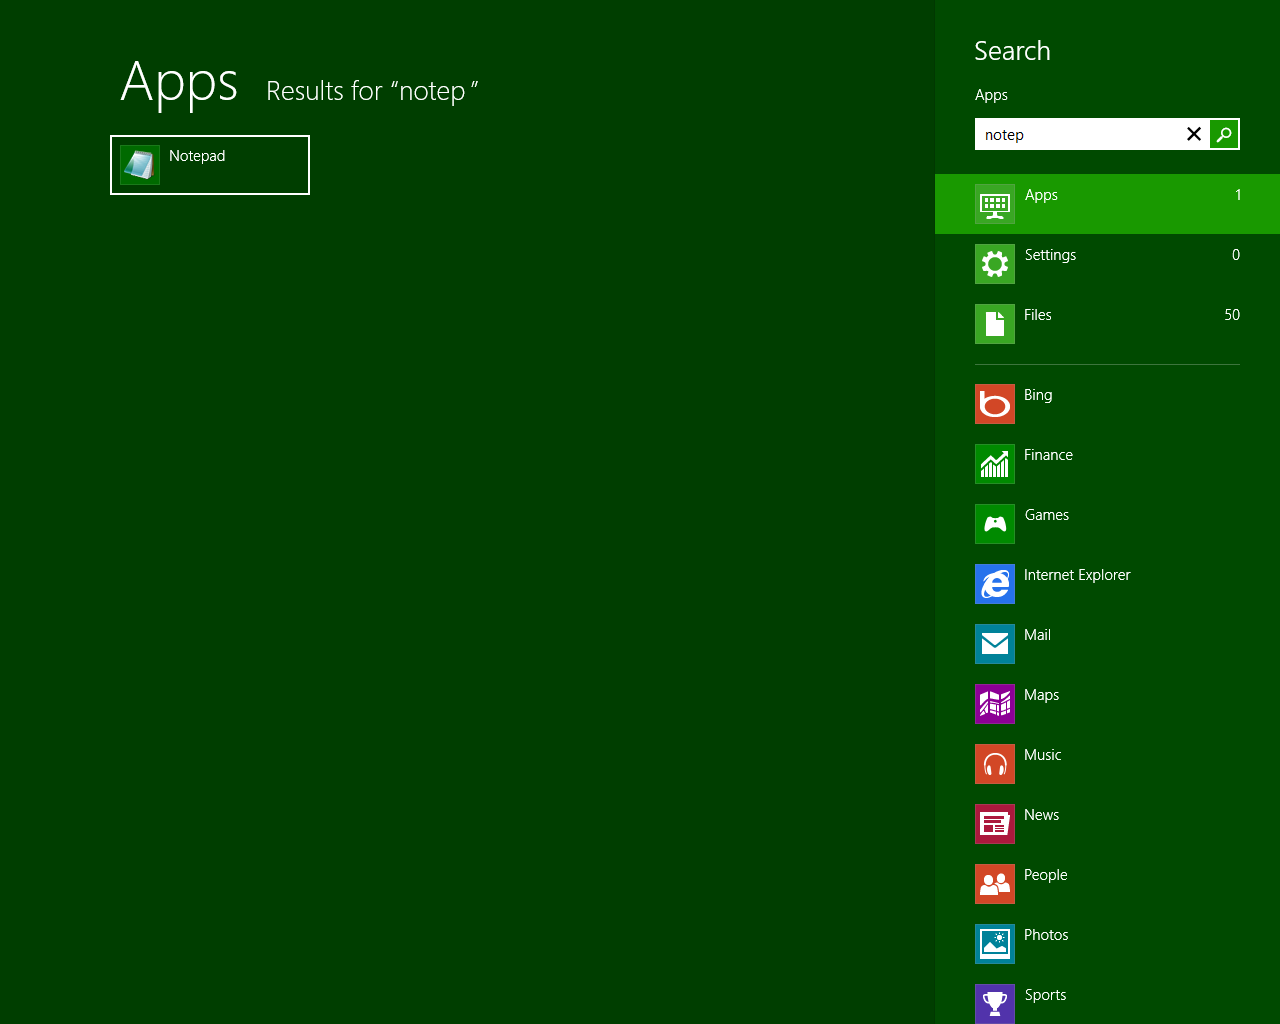
You may notice that there are applications that you know are on your computer for which there is no tile. There are a couple of ways to find these missing tiles.
|
|
|
Suppose you are looking for Notepad (yes, its still available). Just start typing! N-o-t-p etc. until it is displayed in the box on the left then click it or press the Enter key on your keyboard to open Notepad.
|
|
|
|
|
|
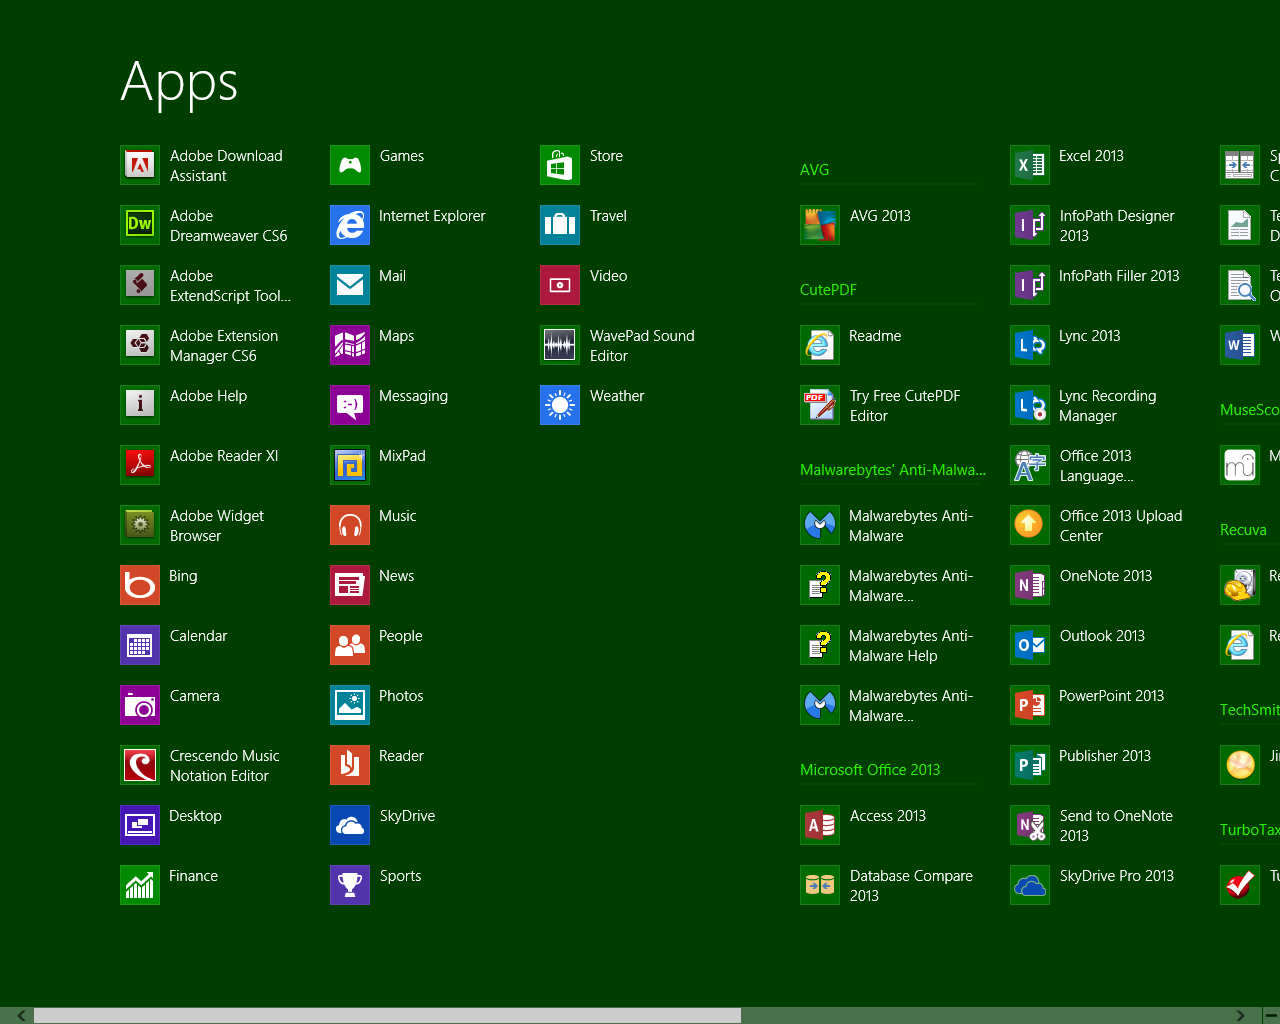
The second method allows you to see all the available tiles, including those not found on the Start Screen. Right-click in any blank area of the Start Screen and notice the bar that appears across the bottom. Click the All Apps icon on the right side of the bar. |
|
|
|
|
|
All tiles are displayed, though each tile is significantly smaller. The scroll bar may be required to see all the tiles.
|
|
|
|
|
|
Rearranging The Tiles
|
|
|
The tiles can be rearranged easily. To move a tile, move the cursor over it and hold the left mouse button down. Drag it to the desired location and release the mouse button. The rest of the tiles in the group will be automatically repositioned. |
|
|
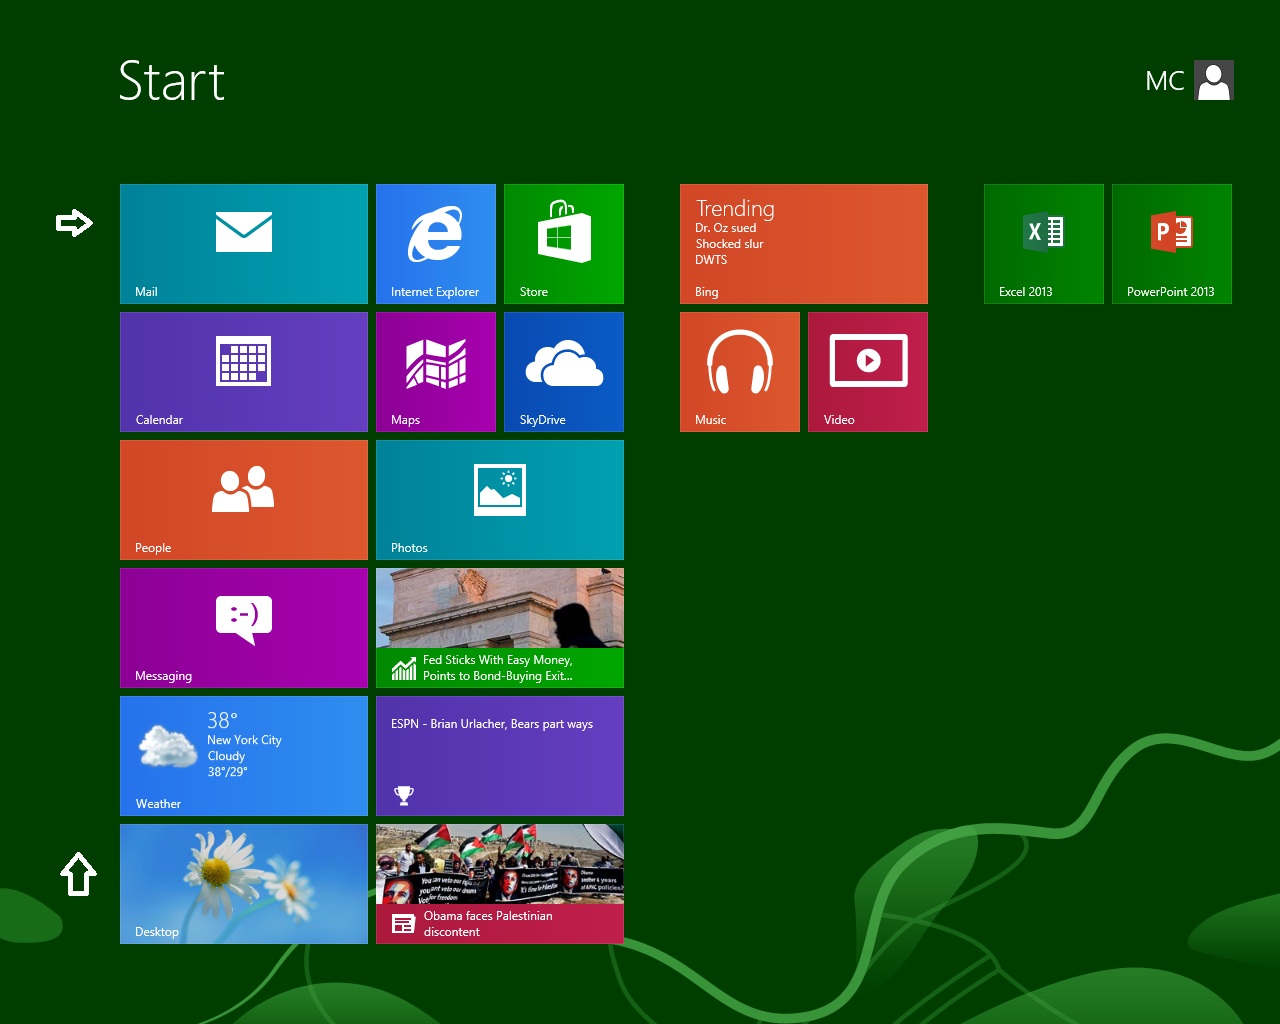
In the example below the Desktop tile is located at the bottom of the first column. |
|
|
|
|
|
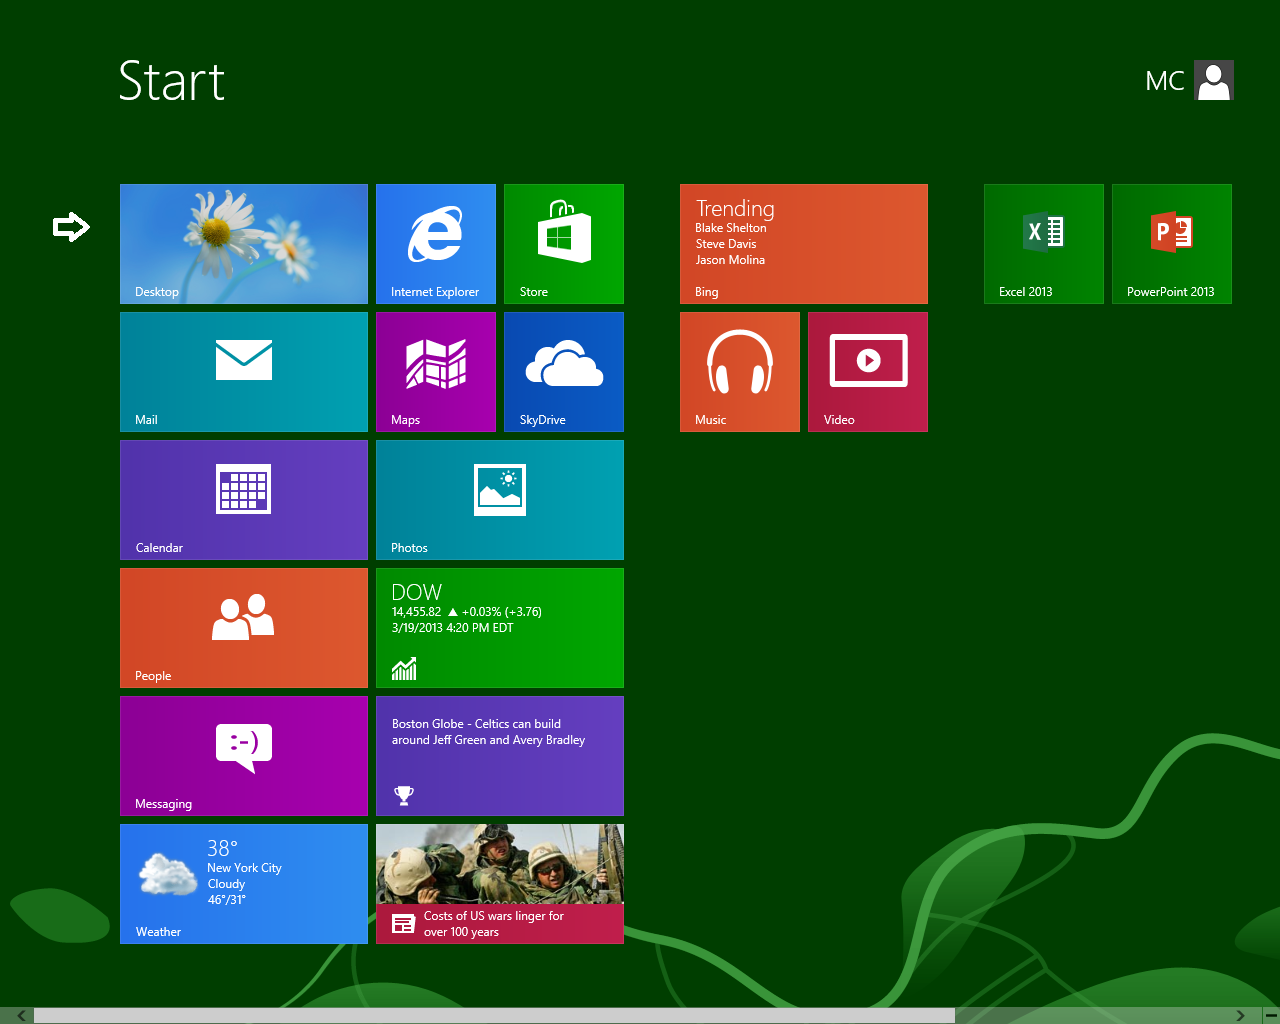
Using the method described above the Desktop tile has been moved to the top of the column. |
|
|
|
|
|
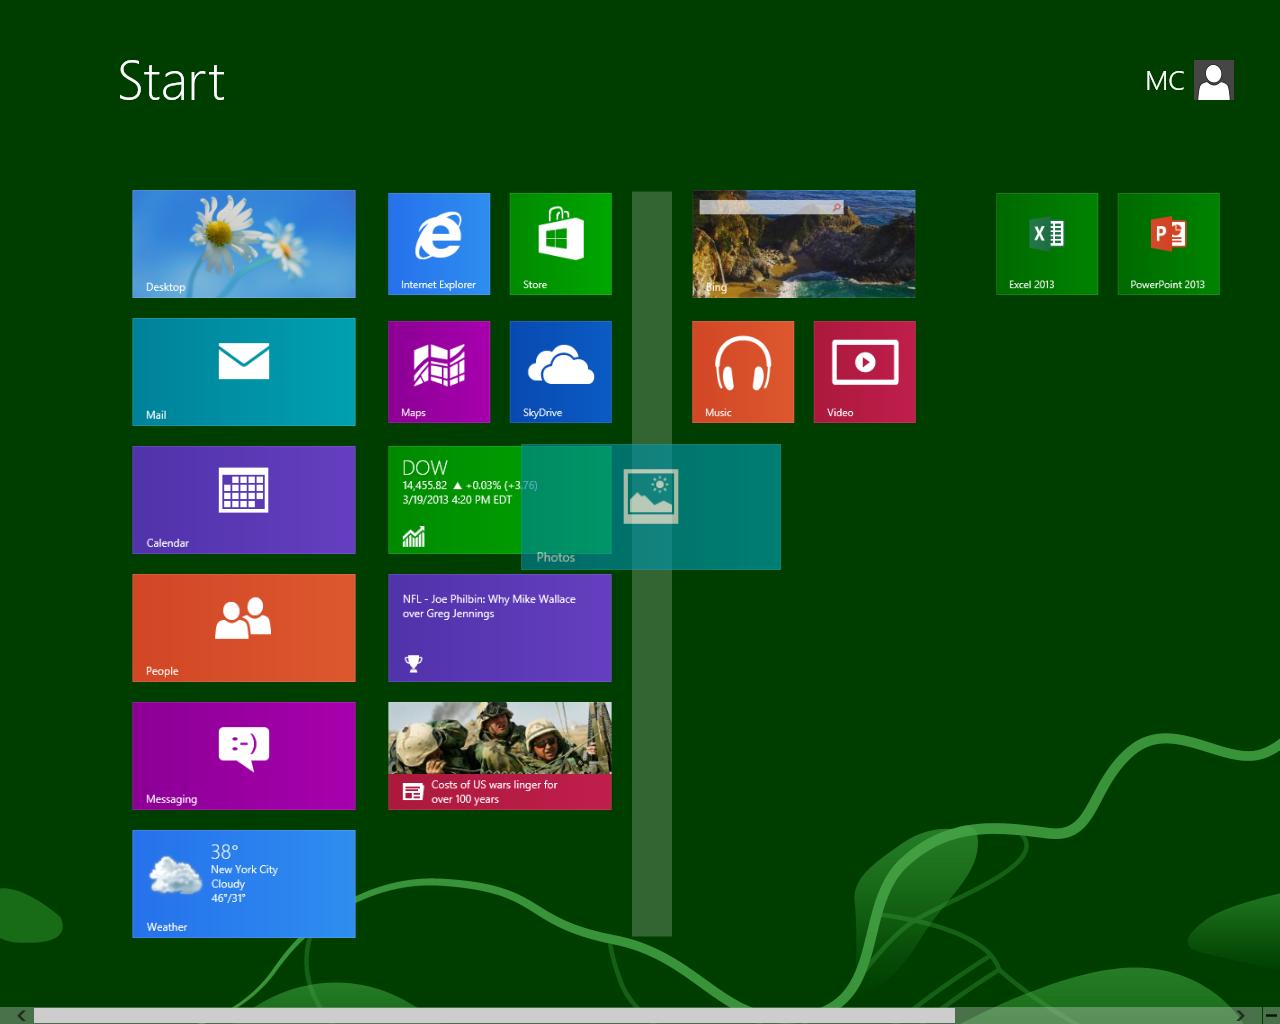
Note the tiles are grouped in columns with two to four tiles per row, depending on the size and arrangement of the tiles. When moving from one group to another, a vertical bar separating the groups temporarily appears. In our example the Photos tile is moved to the second group to the right. |
|
|
|
|
|
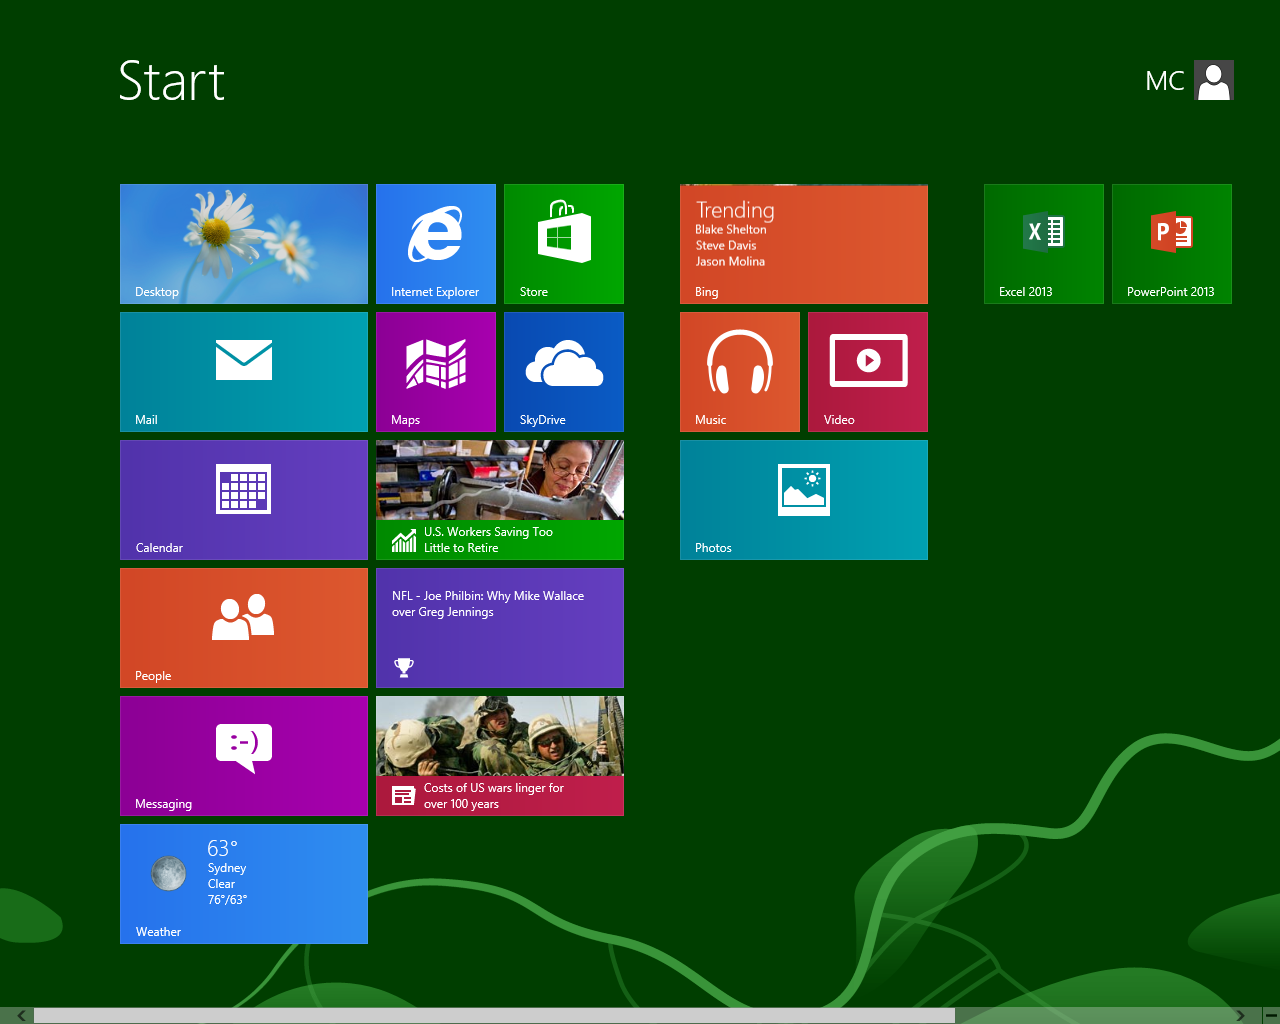
After the move the Photos tile is now in the second group. |
|
|
|
|
|
Removing Tiles From The Start Screen |
|
|
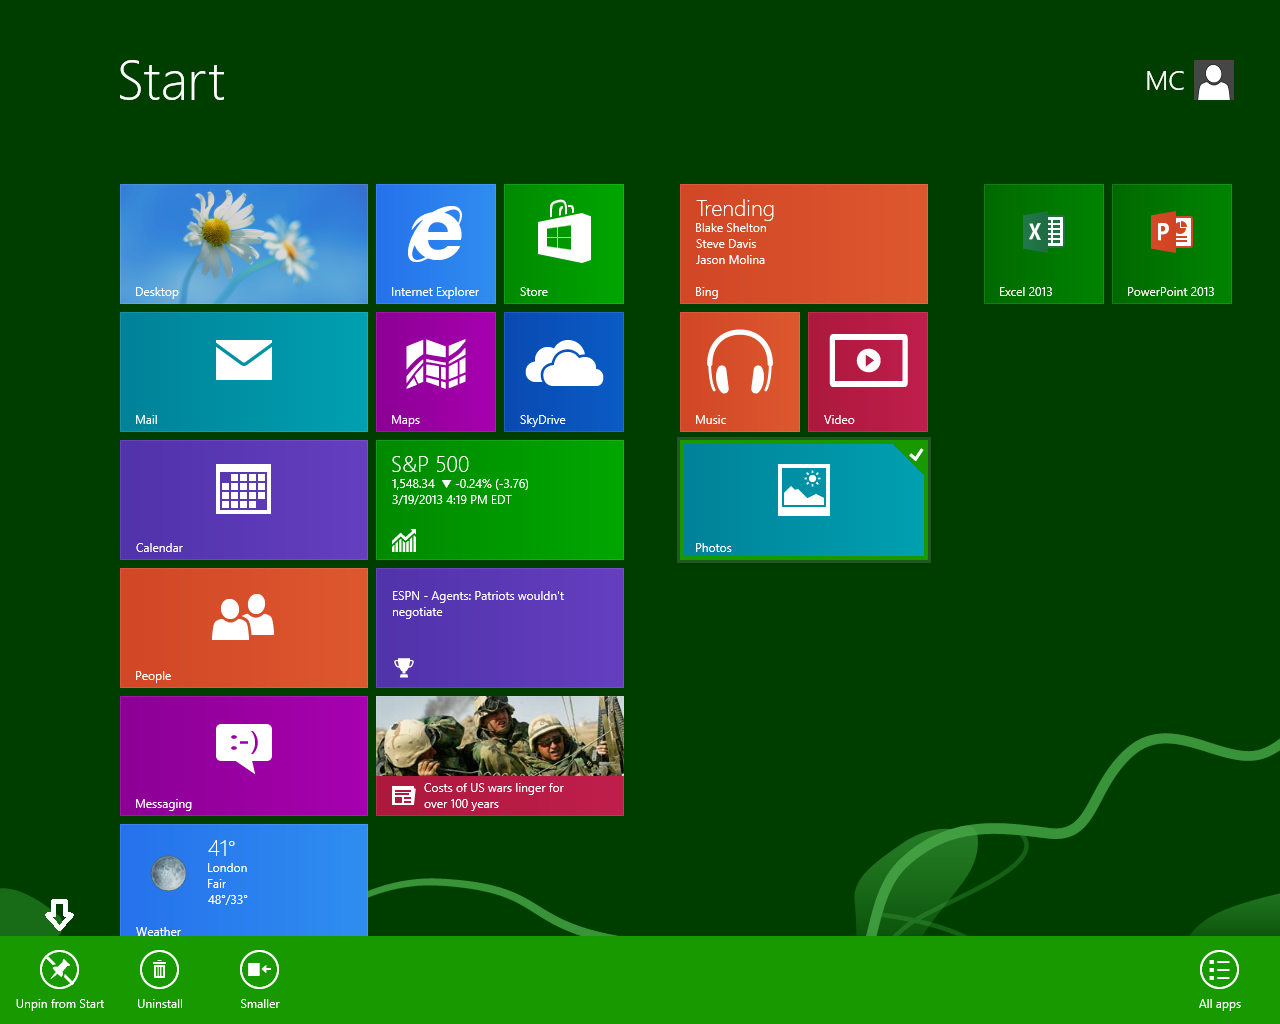
If you prefer not to have a tile appear on the Start Screen, it can be removed. Right-click the tile and note the bar that appears across the bottom. One of the options on the left side of the bar is Unpin from Start. Clicking this option will immediately remove it from the Start Screen. It will still be available in All Apps. |
|
|
|
|
|
The same method can be used to pin a tile to the Start Screen when viewing All Apps. Note there may be other options available as well when right-clicking a tile such as changing the size (there are only two sizes available - large and small, but not all tiles can be resized). The options available for specific apps can vary. |
|