|
|
 |
|
|
Computer Support For Individuals And Small Business |
|
|
|
|
4/19/13 |
|
|
Windows 8 Start Screen Groups - Using A Mouse |
|
|
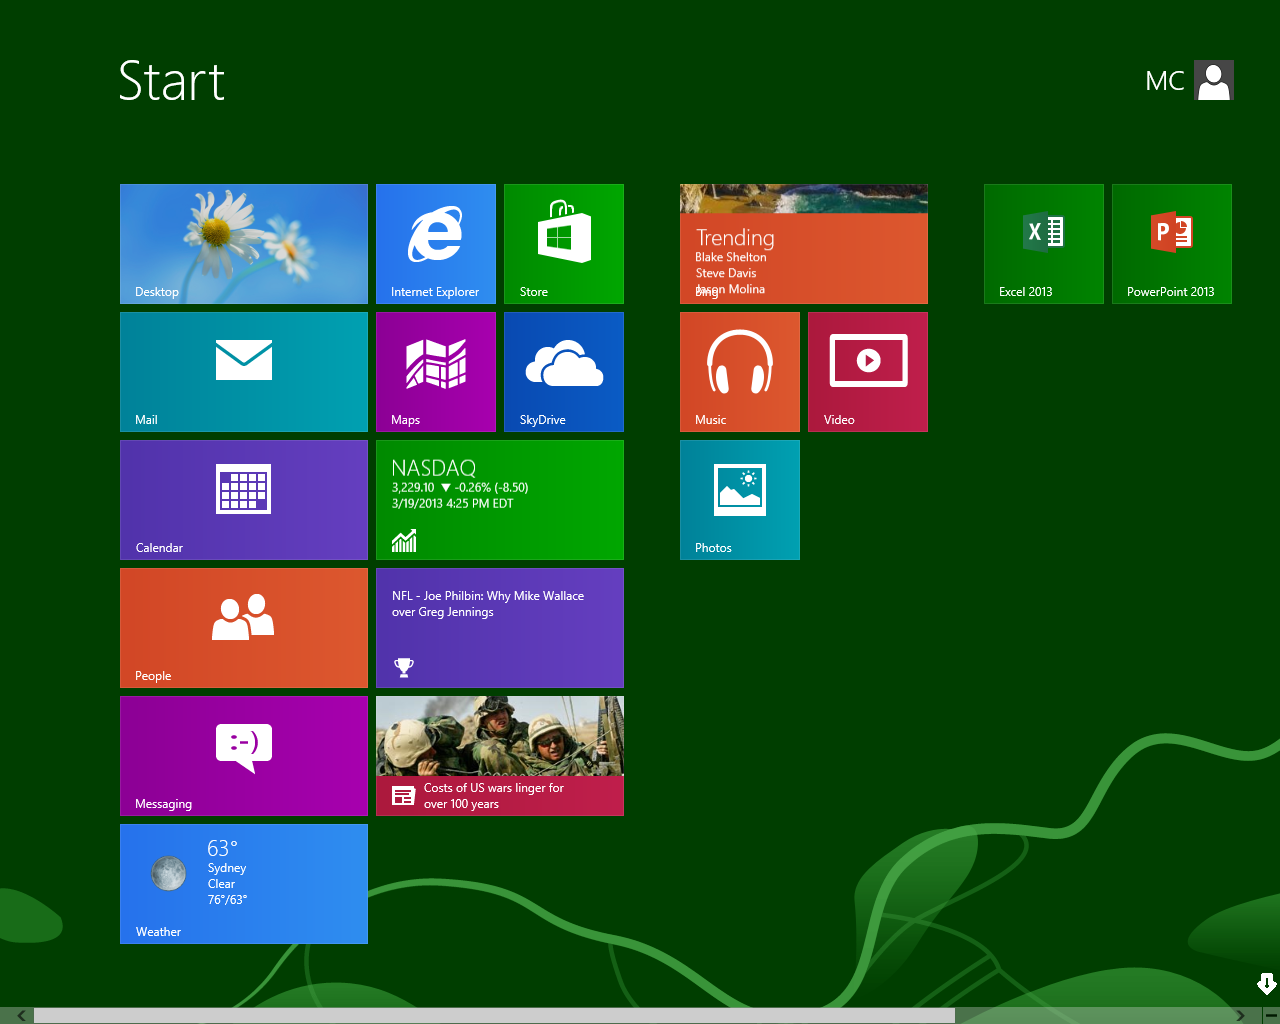
The Windows 8 Start Screen can be intimidating at first, but with persistence and practice it can be quite useful. See Windows 8 Start Screen Basics Using A Mouse for hints on getting started with the Start Screen.
|
|
|
The Start Screen arranges Tiles in Groups. The article cited above illustrates how to rearrange Tiles. As an example, you may want to put all the Office Tiles in one Group and built in apps in another. A third might contain Windows utilities.
|
|
|
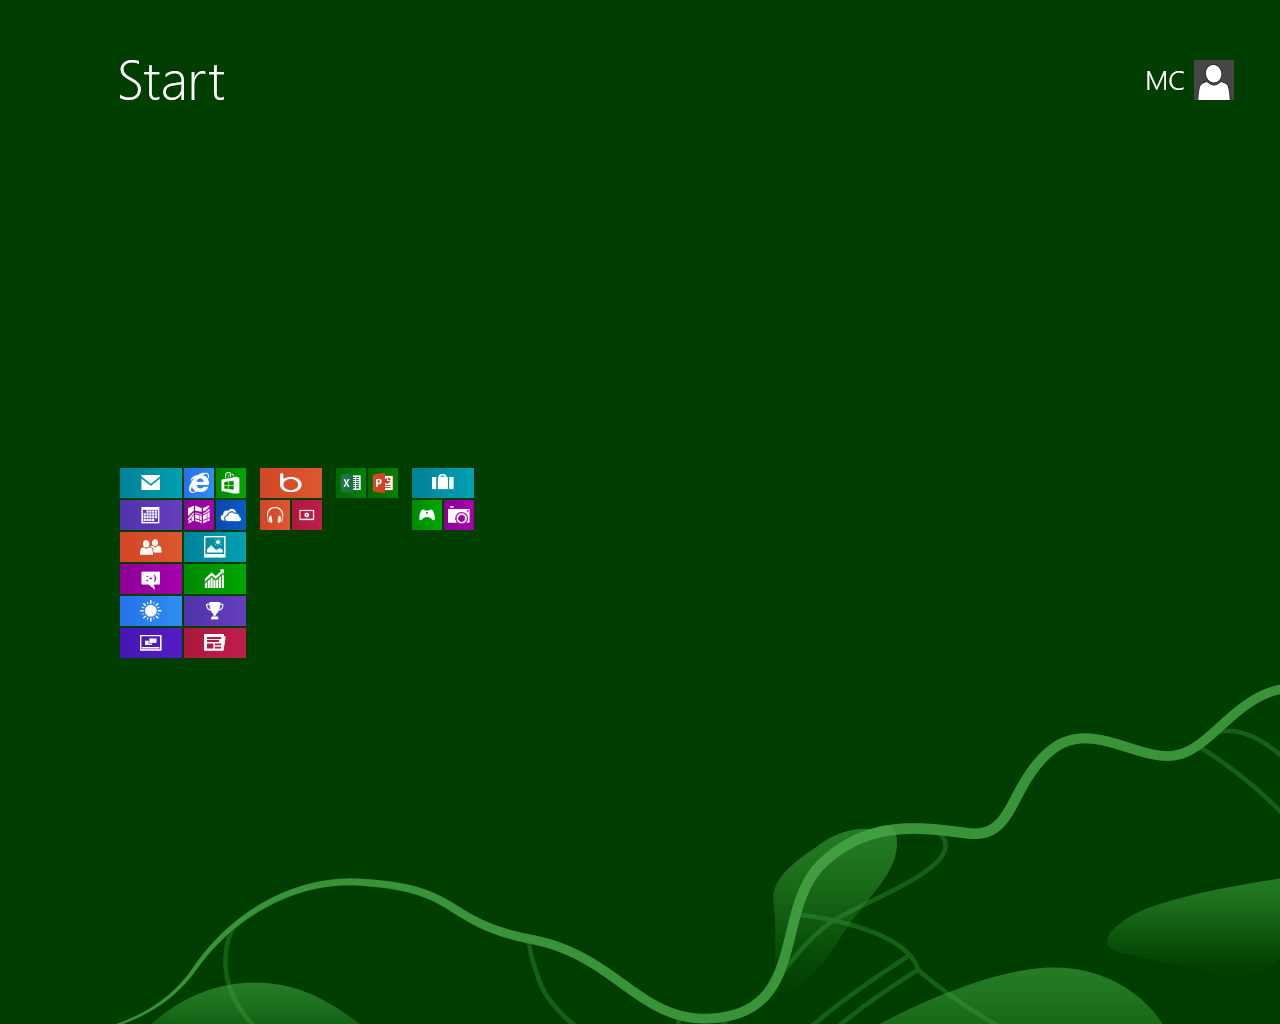
Once this process is complete, it might be desirable to reorder the Groups without having to move all the individual Tiles. This can be accomplished by clicking the minus sign in the bottom right corner.
|
|
|
|
|
|
The Groups are now minimized as illustrated below. |
|
|
|
|
|
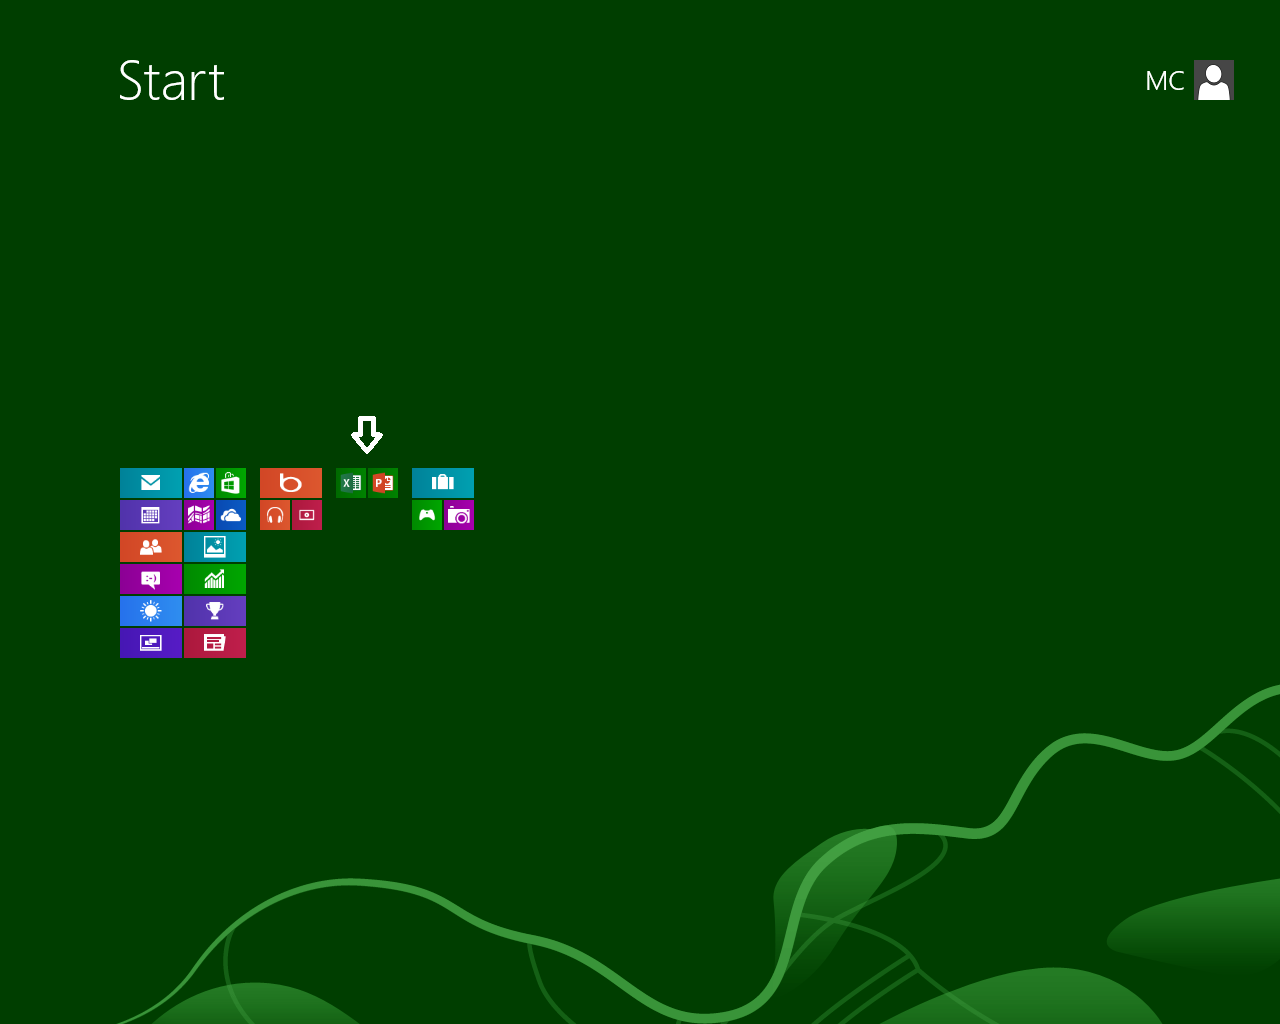
Rearrange the Groups into new positions as desired using drop-and-drag (place the cursor over a Group, hold down the left mouse button, and drag it into place). |
|
|
Once the Tiles have been grouped and the Groups ordered, a Group title can be placed over any or all of the Groups. In the example below we will place a title over the Group containing Office Tiles. |
|
|
|
|
|
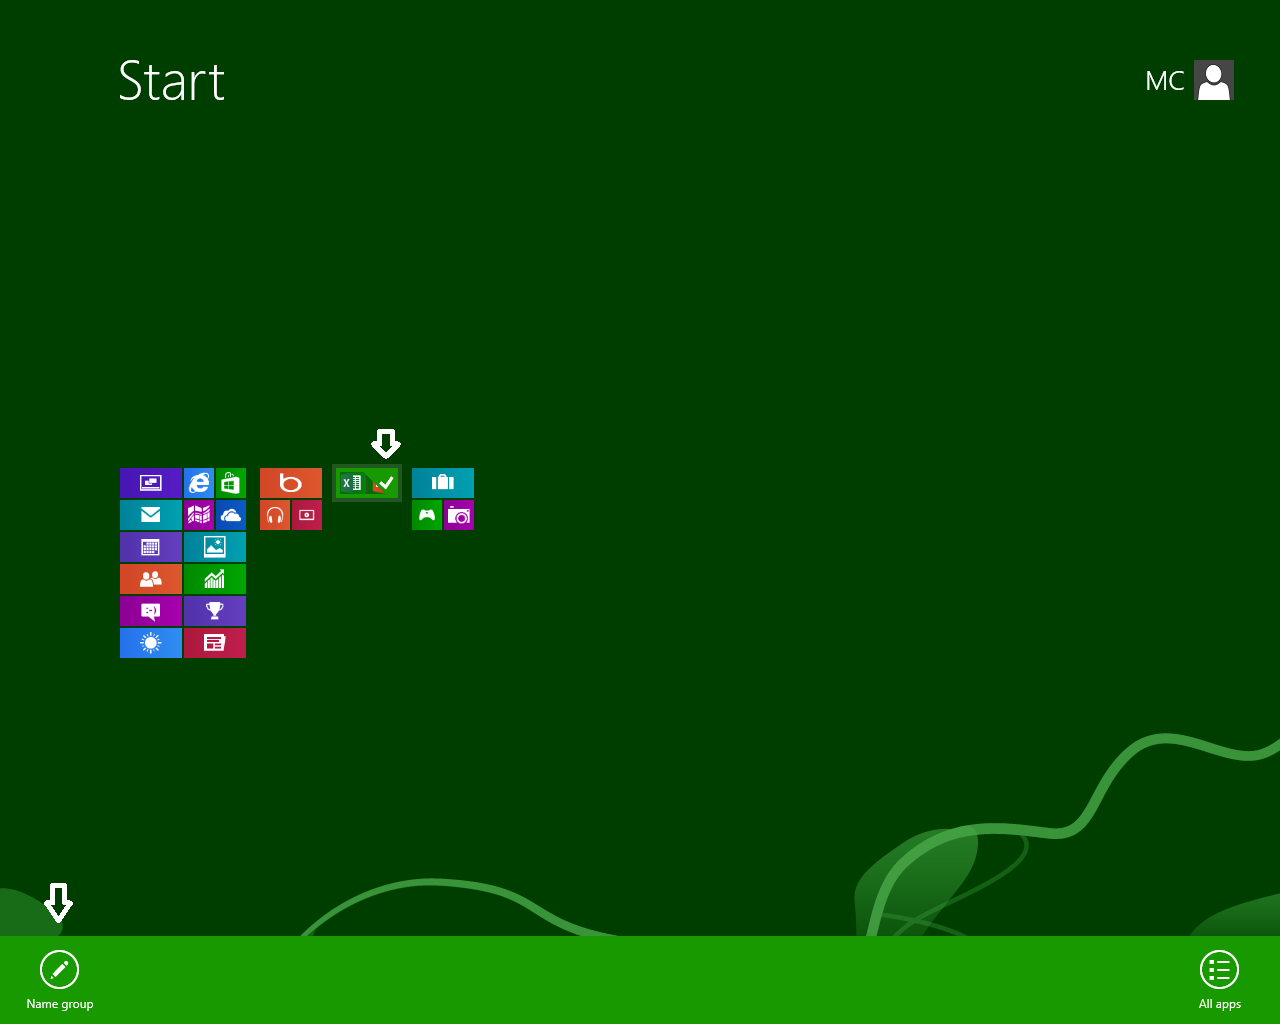
With the Groups minimized as above, right-click on the Group which brings up the "Name group" option at the bottom. Notice the check mark at the top right of the Group. |
|
|
|
|
|
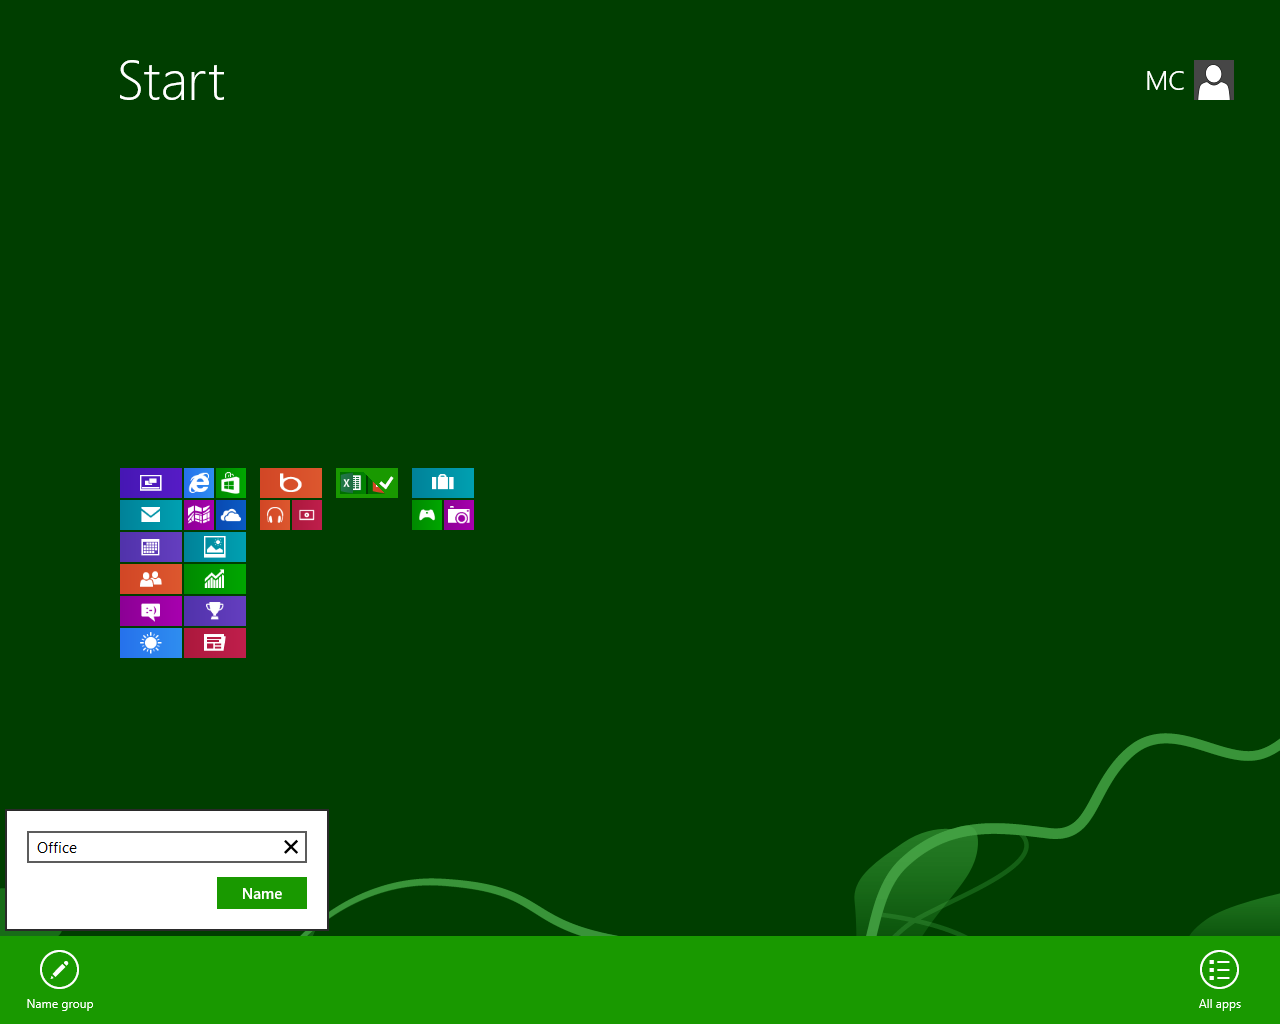
Click the Name group icon to enable the textbox for inputting the title.
|
|
|

|
|
|
Type in the desired title. In the example we use "Office" as the title as the Group contains Microsoft Office Tiles. |
|
|
|
|
|
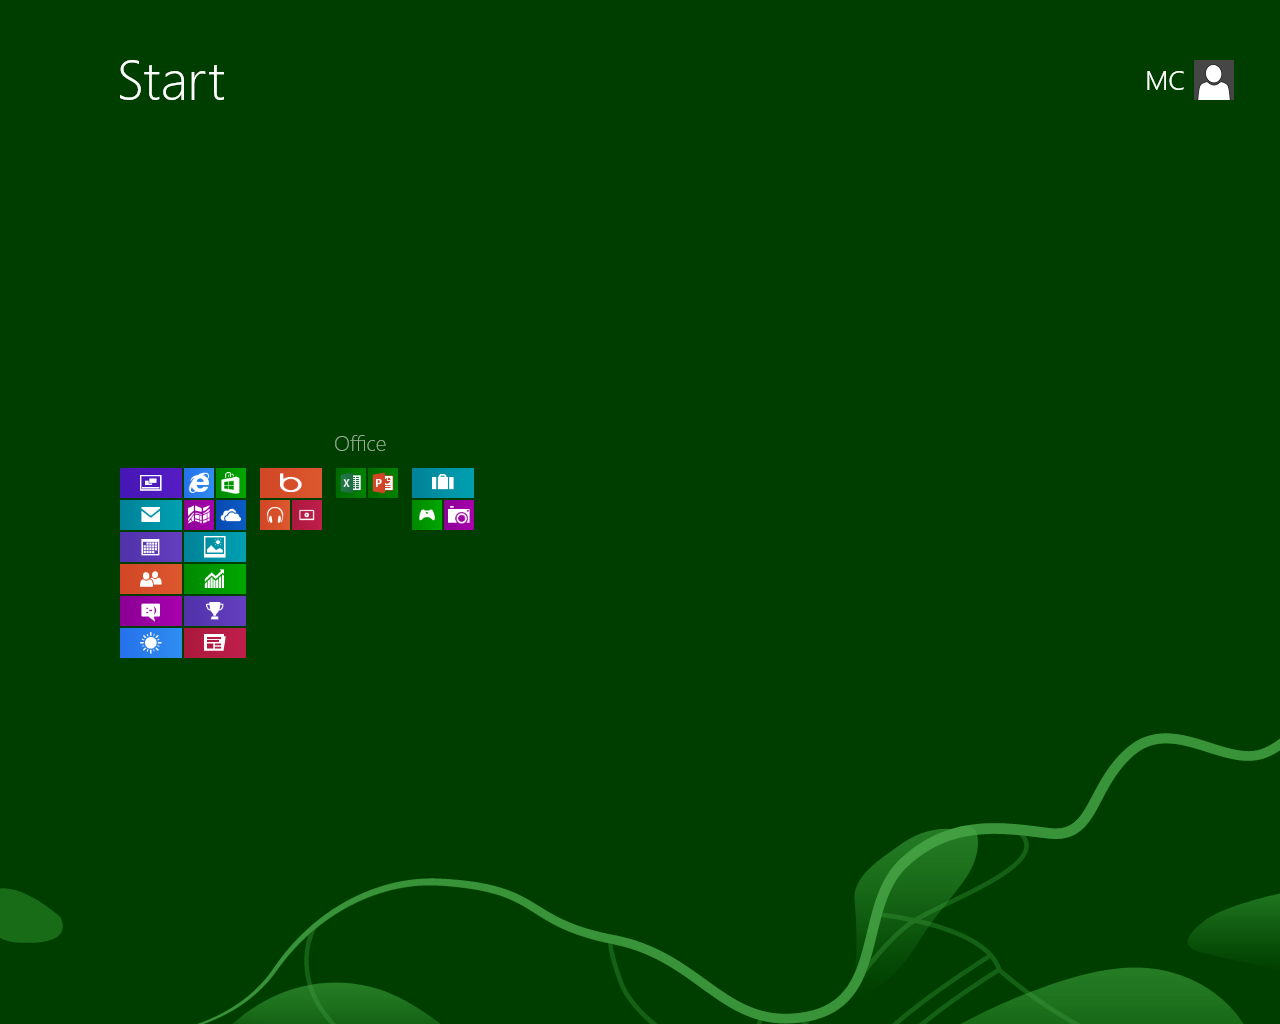
Clicking "Name" places the title over the Group. This process can be repeated for other groups.
|
|
|
|
|
|
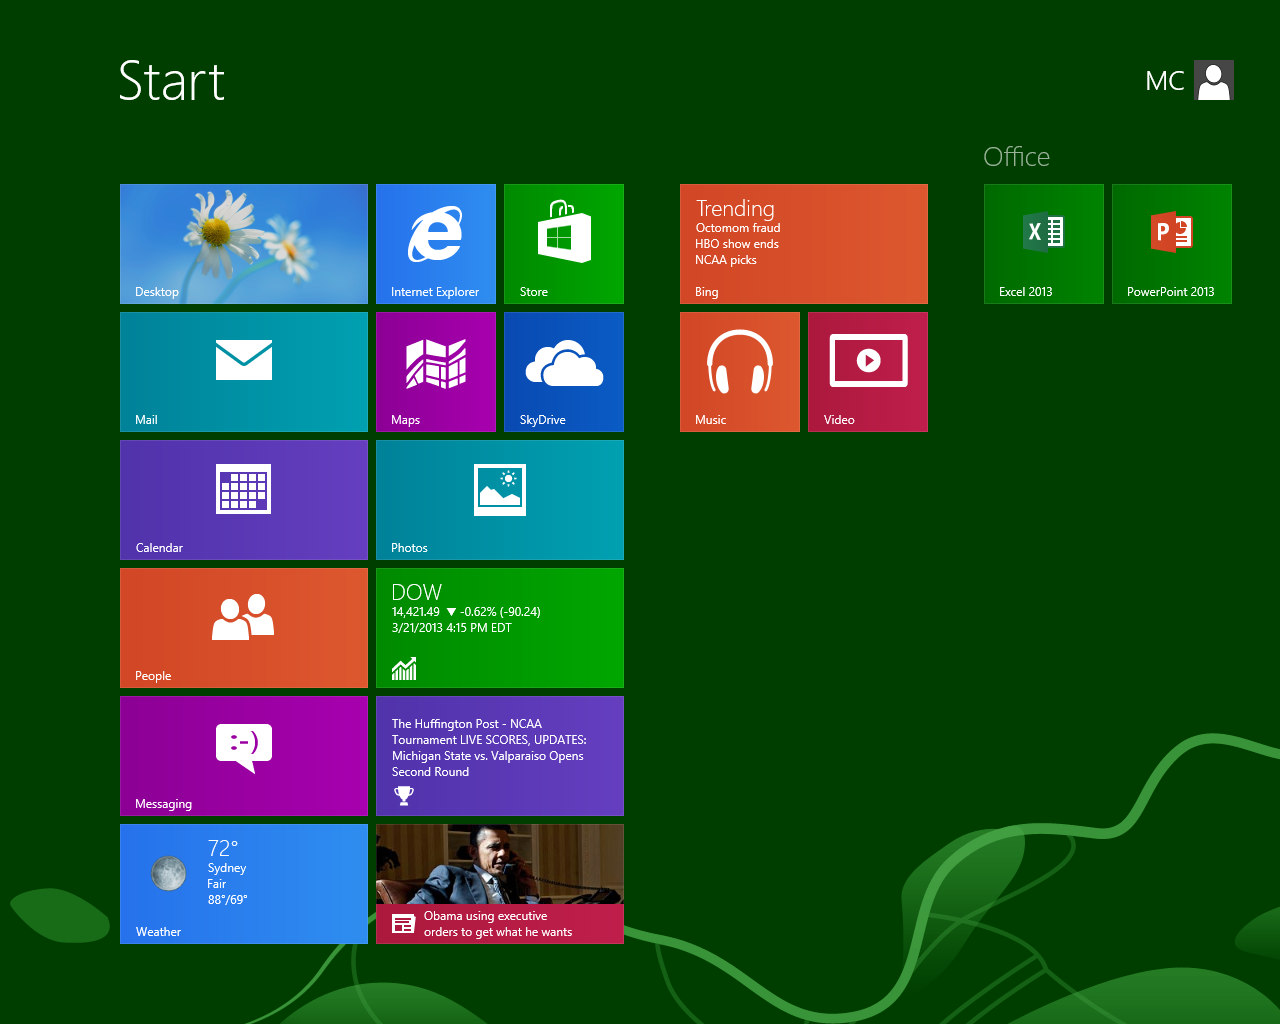
Click anywhere on the Start Screen (except the User icon in the upper right) to return the Start Screen to full size. |
|
|
|
|
|
Once the process is completed, the Start Screen becomes much more useful. |
|